Zombies mode returns in Call of Duty: Black Ops 7 with the brand-new Ashes of the Damned map. The roads of Ashes of the Damned are dangerous, so you’ll want the map’s new Wonder Vehicle in order to survive. Here we’ll guide you through how to repair and upgrade Ol’ Tessie to make the truck even more powerful. We’ll also include some helpful tips for finding and respawning the truck.
The full upgrade quest requires the use of the map’s unique Necrofluid Wonder Weapon, and you’ll want to get started on these steps as soon as possible. You can refer to our guide on how to unlock the Necrofluid Wonder Weapon. There are also parts for later steps that you can collect early in your match, so it’s best to read through the parts needed for Tessie’s turret upgrade before getting started.
Completing all upgrades for Ol’ Tessie will also unlock the Black Ops 7 trophy/achievement titled “I Heard You Like Upgrades.”
Ashes of the Damned’s Wonder Vehicle explained
Ol’ Tessie is the new Wonder Vehicle for Ashes of the Damned. This map doesn’t feature a traditional map layout, and instead, it’s a massive map with six main POIs connected by dangerous stretches of road.
At the start of a match, you’re guided through making the first two enhancements to Ol’ Tessie, including the powerful Pack-a-Punch upgrade, but then the quest markers disappear. There are more powerful upgrades the game doesn’t tell you about, and there are some helpful tools and tricks to help you keep your Wonder Vehicle in good shape.
It’s important to always keep moving when you’re driving Ol’ Tessie on the connecting roads. She’s fragile in her beginning state, so you don’t want her breaking down and leaving you stranded on the roads. You can repair her with salvage or let her regenerate health over time, but it’s really hard to do this and stay alive, especially in a solo match.
There are glowing plant pods scattered all throughout the roads of the map, and you’ll want to swerve around and avoid these, as they explode and deal a lot of damage to your truck. Ravager enemies will also latch on and deal damage, so don’t stop until you get to the next POI, and then the Ravagers will disappear.
How to fully upgrade Ol’ Tessie
T.E.D.D. upgrade
The initial quest markers will guide you to the T.E.D.D. part in the spawn area, so you get your first upgrade quickly in your match. You take the part from the Quick Revive room and interact with Ol’ Tessie to install it.
Pack-a-Punch upgrade
After making the first upgrade, your quest marker will then guide you to Ashwood. You’ll need to follow your objective markers to turn on the power here, and then you can access the garage. This is where you’ll add the Pack-a-Punch upgrade, as well as the additional hidden upgrades mentioned below.
It’s also worth mentioning that this Pack-a-Punch upgrade means you can always upgrade your guns on the go. You can even use the machine from the truck bed without ever getting out.
This Pack-a-Punch upgrade also adds a boost to the truck, so you can flee those pesky Ravagers and get to your location even faster.
Abomination upgrade
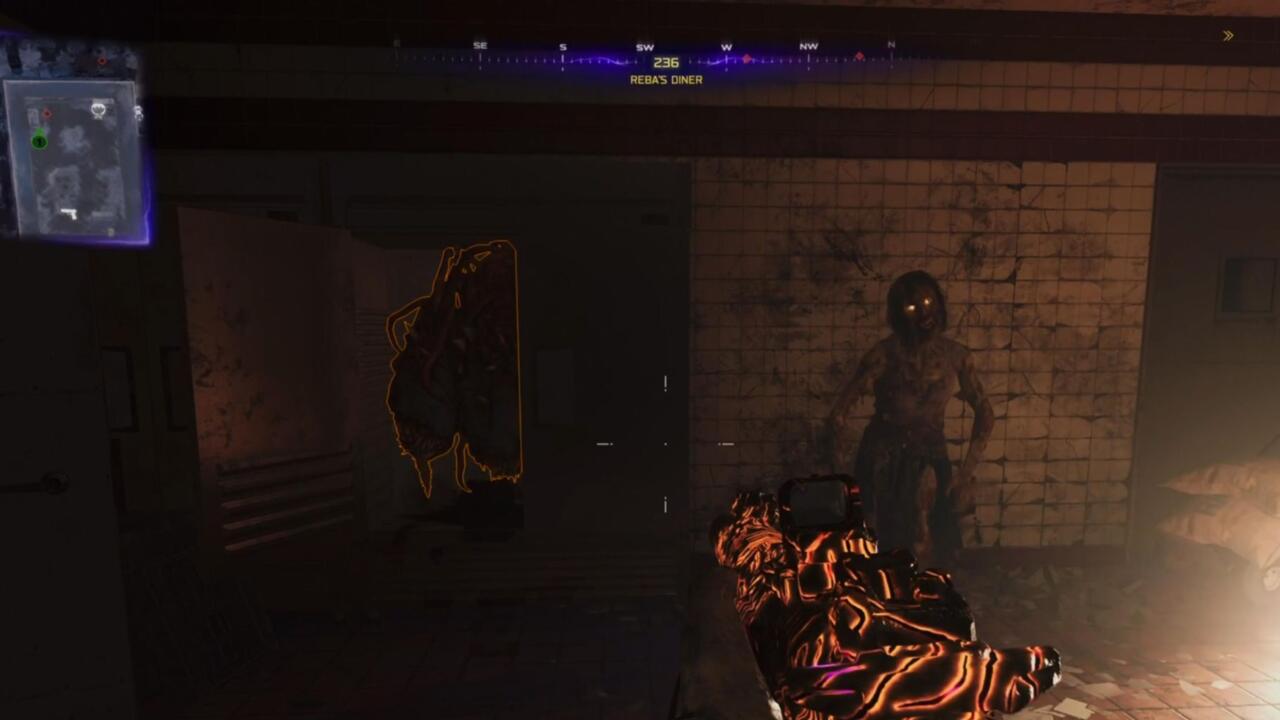
The next upgrade will add the monstrous mouths of the Abomination creature from Black Ops 6. To do this, you’ll need to head to Exit 115. A special zombie called “The Cook” will spawn in or around the diner. Kill this zombie and pick up the freezer key that it drops.
Go inside the diner and use the key on the locked freezer. This lets you grab the Abomination Carcass upgrade. Take the part back to the garage in Ashwood to install it via the upgrade bench.
With the Abomination Heads upgrade, you’ll be able to use R1/RB to shoot beams from the Abomination’s mouths. This will help kill enemies in your path.
Turret upgrade
This final upgrade takes time and a lot of effort to collect parts, and one of them won’t be available until after round 15. You’ll need the map’s Necrofluid Gauntlet Wonder Weapon and the previous Abomination upgrade for Ol’ Tessie to collect serum parts for this part of the quest.

Ravager Eyes
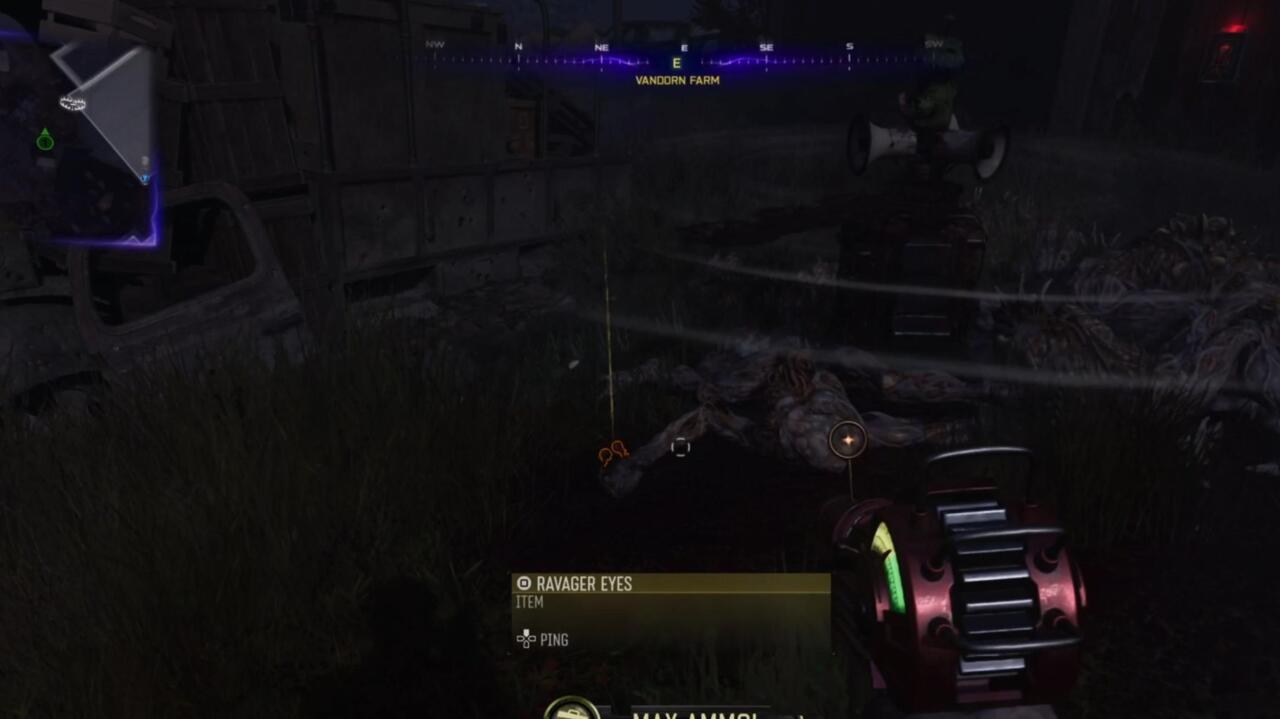
Collect Ravager eyes by killing them with the saw blade trap at Vandorn Farm or Ashwood. You can easily kill them during the special round, and one will drop the Ravager eyes part.

Human Bones
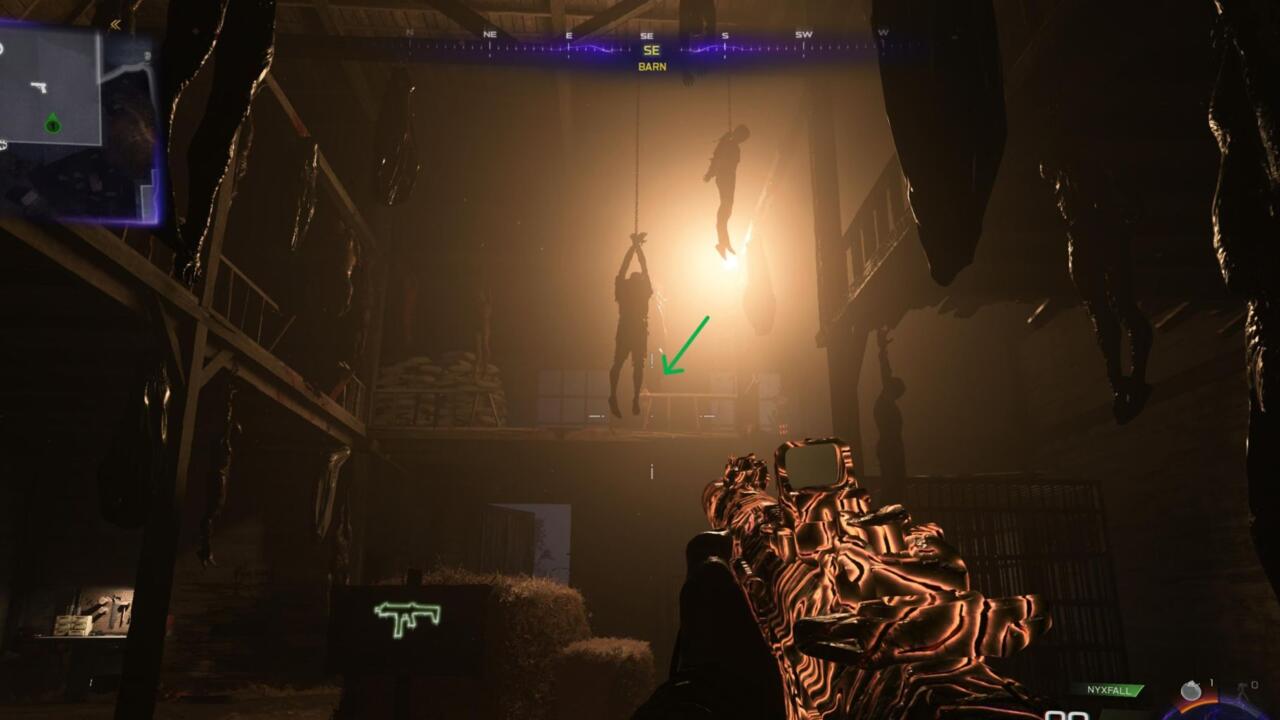
Use a throwing axe on the leg of the body hanging from the rafters of the barn. You want to aim for the first body you see hanging in the middle, just above the hay bales.
It will drop the foot part on the ground. Throw a Molotov on this piece to get and collect the Human Bones part.

Widow’s Lantern
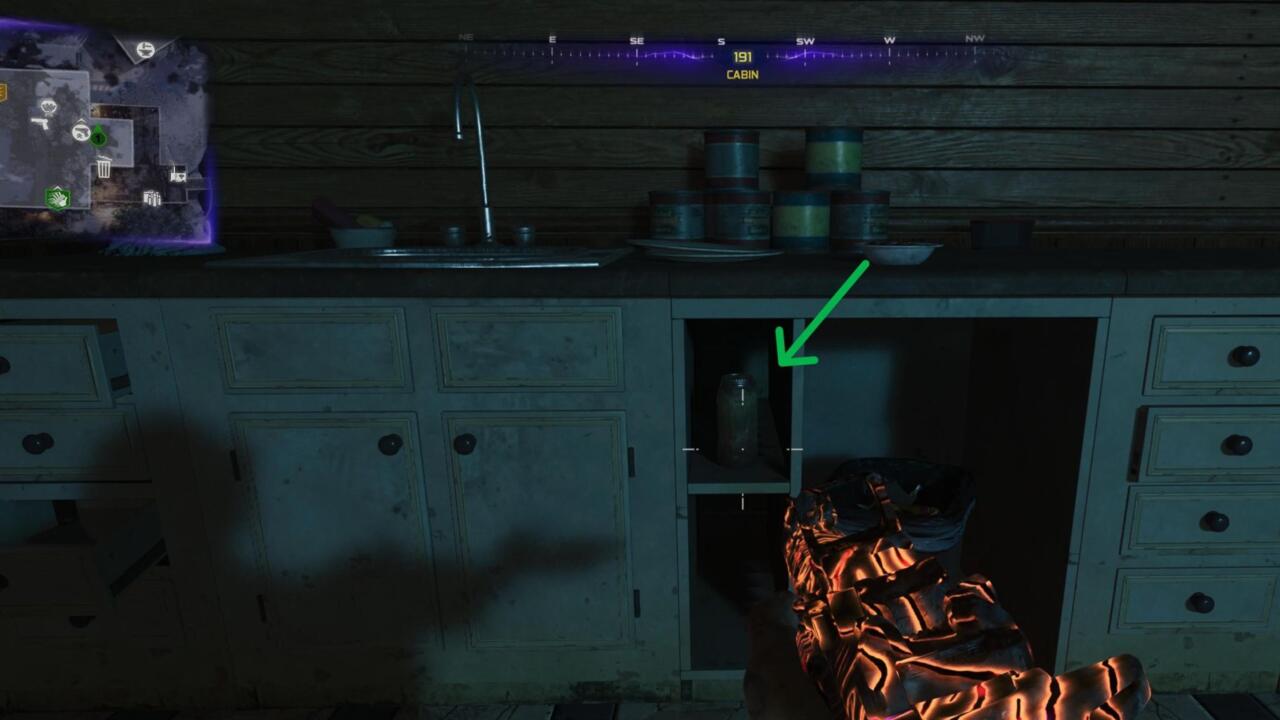
Go inside the cabin at Blackwater. Pick up the Jar of Spores located on the shelf just below the kitchen sink. Then, go to Vandorn Farm and interact with the dead horse on the road right in front of the farm.
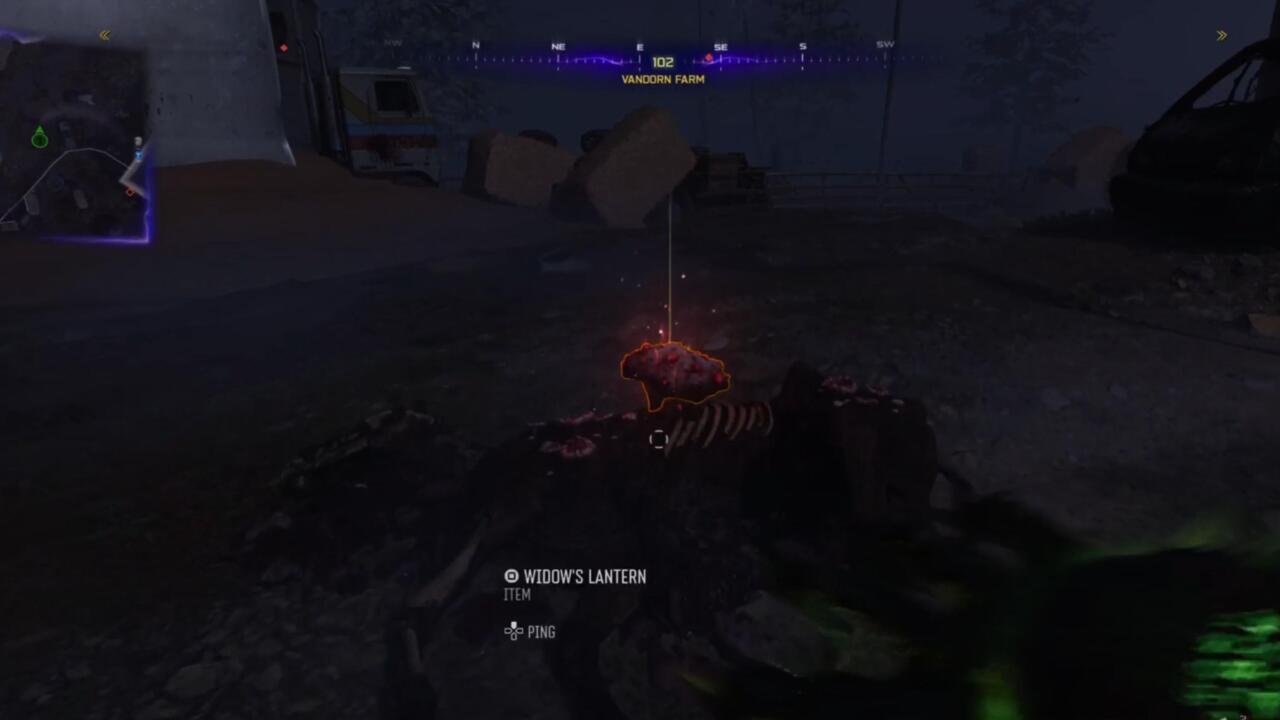

You’ll need to wait 3 to 4 rounds for the spores to grow on the horse, and then you can collect them for the Widow’s Lantern fungus part.


Hoard Husk Chunks
Use Ol’ Tessie’s Abomination beam attack on the glowing purple flowers on the roads. One of them will drop the Hoard Husk Chunks part to pick up.

Powder of the Forgotten
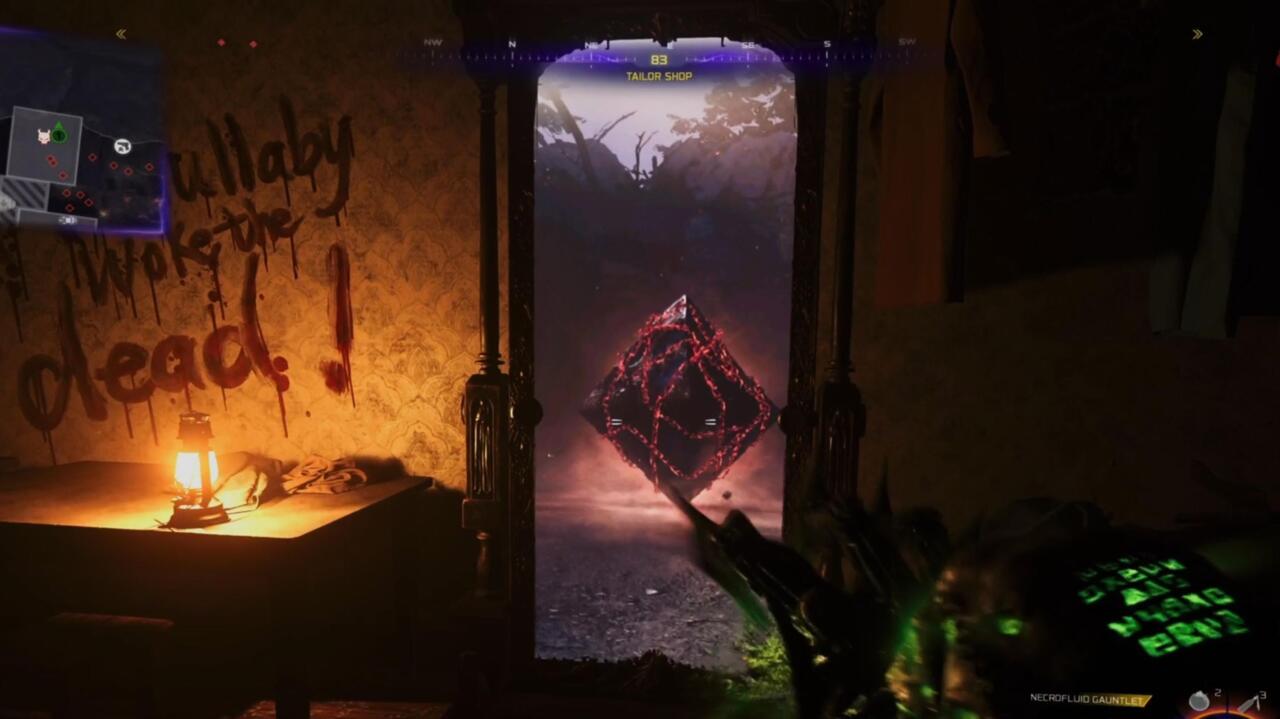
Get the Wisp Tea perk from Zarya Cosmodrome, and then you need to go to the mirror found in the Tailor Shop in Ashwood. Stand next to the mirror in the room while Wisp Tea is active, and then shoot the mirror with the Necrofluid Gauntlet. This will drop the Powder of the Forgotten part.

Mysterious Limb
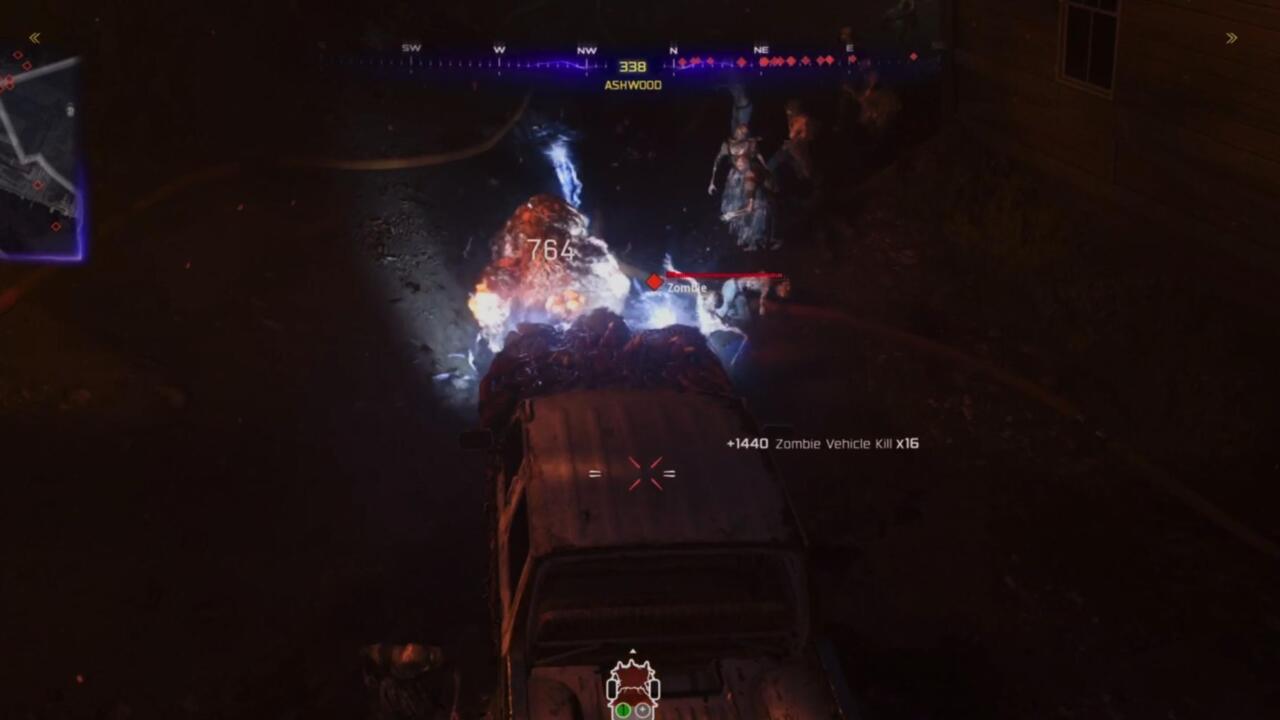
The last part you’ll be able to collect requires you to kill a zombie bear with Ol’ Tessie’s Abomination beam attack. These bears don’t start spawning until after round 15, but take down the bear with the beam to collect the Mysterious Limb piece.
Once you have all the serum parts, you can then combine them in Yuri’s Lab for the second half of the turret upgrade quest.

Create serum in Yuri’s Lab
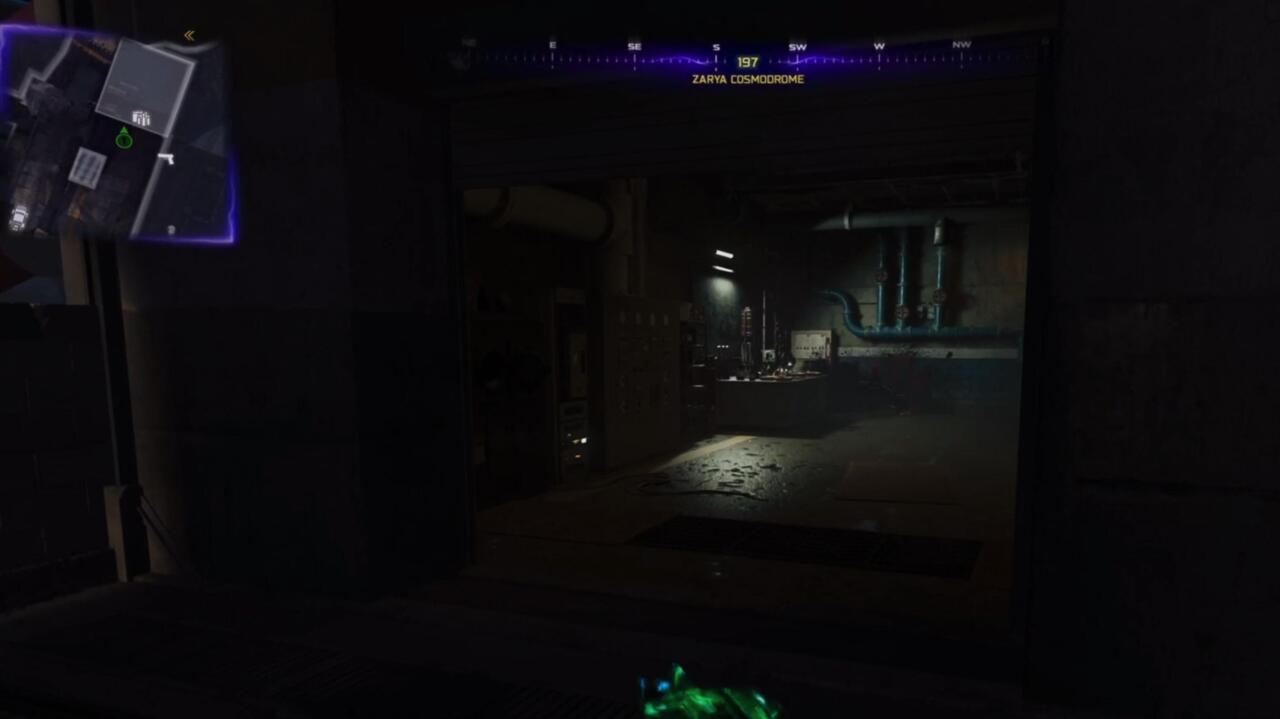
Go to Yuri’s Lab in Zarya Cosmodrome. This is found by opening the metal storage room doors that are opposite to the door you opened for the Support Systems area of the map, where you commanded Klaus to help you get the canister for the Necrofluid Gauntlet.
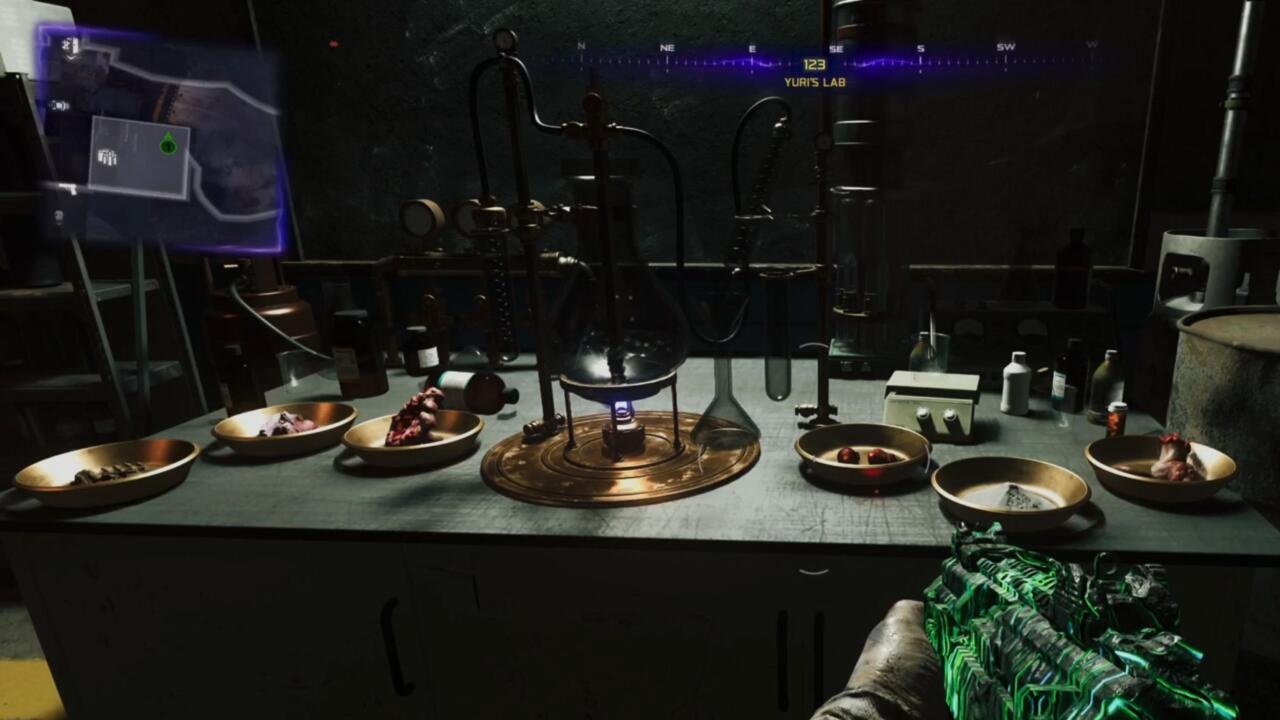

First, interact with the bowl of white powder on the table. This will cause three lines of symbols to appear, and each line decodes into one of the serum parts you’ve collected. These ingredients on the table must be interacted with in the order they appear on the board.
Using the first symbol of each line will determine the part needed:
> = Human Bones
L = Hoard Husk Chunks
C = Widow’s Lantern
C with a dot = Ravager Eyes
L with dot = Mysterious Limb
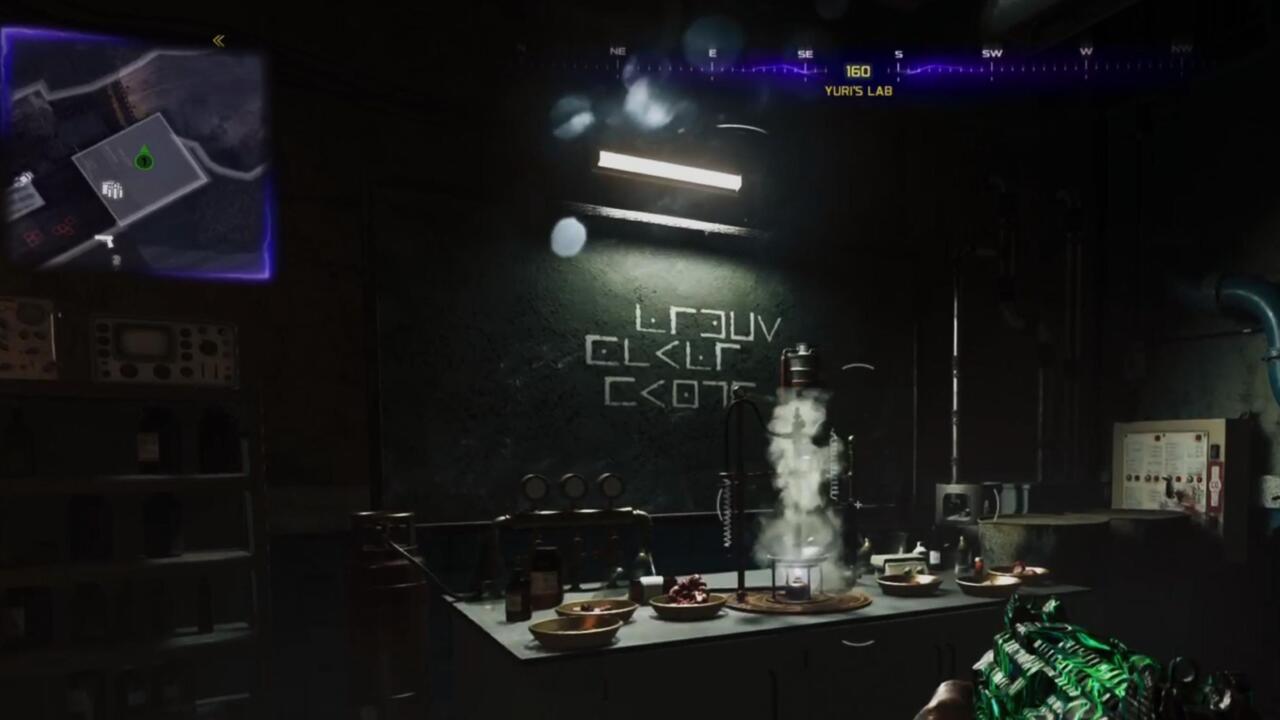

You can see my example in the image above, which gave me the L with a dot, C with a dot, and the regular C. This meant I needed to interact with the Mysterious Limb, Ravager Eye, and Widow’s Lantern mushroom in that order.
If you do it right, red smoke will appear and you can continue with the steps. If black smoke appears, you’ll need to try again next round.
If the smoke is red, you can interact with the table to add blood to the mix. Doing so will start a lockdown survival step. Be prepared. This is a tough place to survive, so make sure you have stuff to help you. Turret lethal equipment, Insta-Kill GobbleGum, armor, and perks.
If you fail the lockdown, you can try again next round. Once you survive, you can continue with the quest, which now requires you to collect keys.
Collect three keys
Three glowing keys are hidden on the roads between the POIs. Some of the key spawns are just out of reach, so you need the Necrofluid Gauntlet to help you get these. Out-of-reach keys can be shot with the Necrofluid Gauntlet, and then you just need to hit reload with the weapon to pull the item to the ground.
Each glowing key needs to be brought to the diamond-shaped box that’s chained up in Ashwood on the west side of the map. This looks just like the strange locked item that appeared in the mirror step shown above.
Nightbird key (Red key)
The red key is found in the Orda Graveyard, which you reach when traveling from Ashwood to Exit 115, and keep to the right path. You’ll see its red glow from a distance.


The known key spawns are:
- Inside the dino skull up on the hill
- At the back of the dino skull on the road
- On the road just past the diner which leads to a Project Janus vehicle. The key could be behind the vehicle
You cannot regenerate health while holding the red key, so make sure you hop in Ol’ Tessie and head straight to Ashwood to deposit it.


Bruin key (Yellow key)
This glowing key is found on the road leading from Ashwood to Zarya Cosmodrome.
The known key spawns are:
- On top of the fallen radio tower that hangs over the road
- On top of the tower with the array
- Close to Ashwood road sign as you”re heading toward the cosmodrome, high up on the cliffside
Holding this key forces you to switch to your dedicated melee weapon, so again, make sure you hop in Ol’ Tessie and head straight to Ashwood to deposit it.

Terrapin key (Green key)
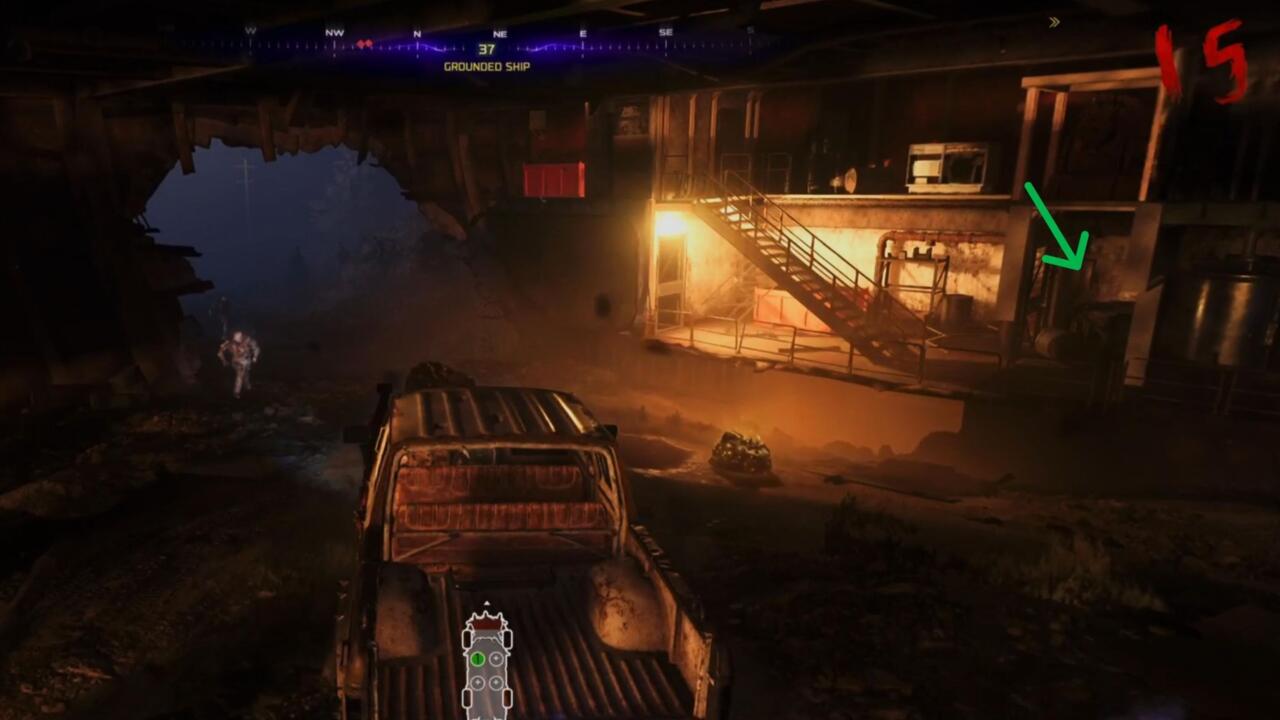
This green glowing key is found at the Grounded Ship on the road from Ashwood to Vandorn Farm.
Known spawn locations:
- Just inside the opening of a blue shipping container located near the back of the ship
- Underneath the ship in between barrels
- Inside the window of a small room on the deck of the ship
This key slows you down by disabling your sprint, so again, make sure you hop in Ol’ Tessie and head straight to Ashwood to deposit it.
With all three keys deposited, you’ll get a brief cutscene to enjoy. You can pick up the DG-2 Turret Barrel part once it’s finished. Take the part back to the Ashwood garage to complete Ol’ Tessie’s final upgrade.
Tips and tricks to know for finding and repairing Ol’ Tessie
Ol’ Tessie can auto-regenerate health over time. You’ll know this is happening because there’s a green glow around the truck. She can also be repaired more quickly with Salvage.
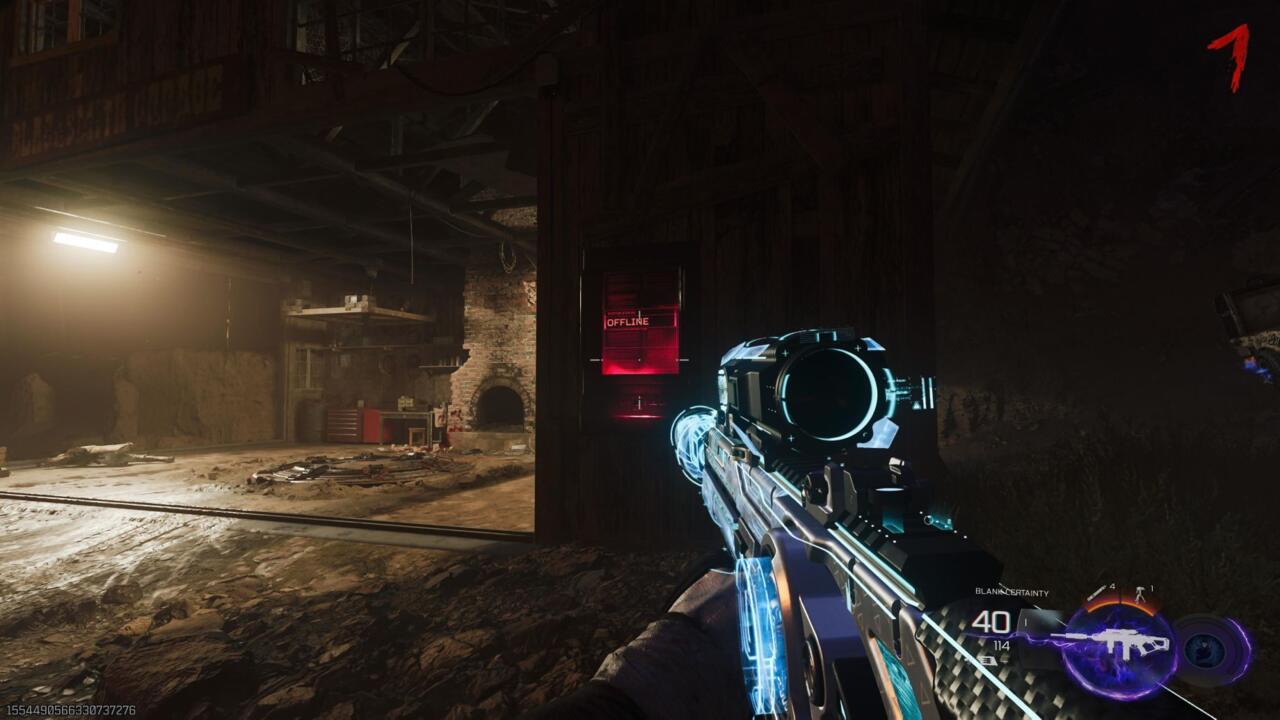

Ashes of the Damned is a huge map, and it’s easy to get separated from your truck, especially in a co-op session. You can use the button on the outer wall of the Ashwood garage to respawn the truck for 1,000 points, or you can go to the teleport pad inside the garage to pay 500 points to teleport inside the truck, wherever it is on the map. This makes reuniting with teammates and locating the truck quicker than running the roads.
If you’re not in Ashwood and need to get to the garage, you can use a jump pad at one of the main POIs to get back there. The jump pads only cost 500 points, so this is a cheap way to bounce around POIs when needed.

